How to Wrap a Present – A Step-by-Step Guide for Perfect Gift Wrapping!
 James Mitchell
In short
Learn how to wrap a present perfectly with this easy-to-follow guide, including tips and tricks for wrapping gifts beautifully every time.
7 steps in this guide
Wrapping a present is an art that goes beyond just covering it with paper. A beautifully wrapped gift shows thoughtfulness and care, making the recipient feel special even before they open it. Whether you’re wrapping a gift for a birthday, holiday, or just to show appreciation, knowing the proper techniques ensures your gift looks polished and festive.

Why is Gift Wrapping Important?
Gift wrapping is more than just a way to present your gift. It sets the mood, adds excitement, and can make the recipient feel valued. A well-wrapped gift is a visual treat that enhances the experience of giving and receiving. If you’re looking for ways to elevate your gift-wrapping skills, follow these simple steps to ensure your present is wrapped to perfection.
Step 1: Gather Your Supplies
Before you start wrapping, make sure you have all the necessary materials. Here’s what you’ll need:
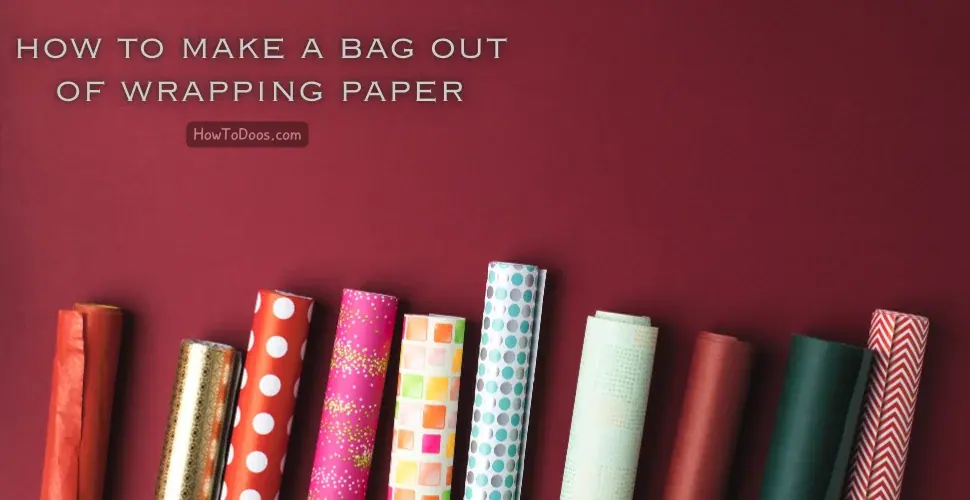
- Gift Wrap: Choose a paper that matches the occasion. Opt for solid colors, patterns, or even eco-friendly wrapping.
- Scissors: A sharp pair of scissors will help you cut clean edges.
- Tape: Use transparent tape for neatness, or double-sided tape for a cleaner finish.
- Ribbon or String: Adds an elegant touch and keeps your gift secure.
- Gift Tags: Personalize your gift with a message.
- Extras: Stickers, bows, or decorative items like dried flowers for added flair.
Step 2: Prepare the Gift
Start by making sure your gift is well-protected. If the item is fragile, wrap it in tissue paper or bubble wrap before you begin with the gift wrap. This extra layer of protection ensures that your gift stays safe during the wrapping process and transportation.
Step 3: Measure and Cut the Paper
Measure the length of the gift by placing it on the gift wrap. Make sure there’s enough paper to cover the entire gift, with some extra at the ends. A good rule of thumb is to have about 3-4 inches of extra paper on each side to make sure it can be folded over securely.
Once measured, cut the paper neatly. If you want straight edges, use the grid lines often found on the back of wrapping paper to guide your cuts.
Step 4: Wrap the Gift
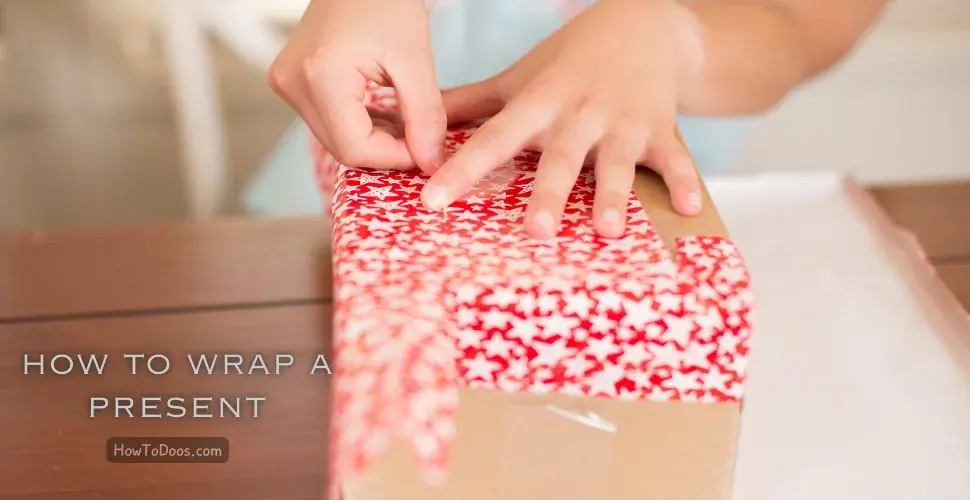
Place the gift in the center of the wrapping paper. Pull one side of the paper over the gift and secure it with tape. Then, pull the other side of the paper over the gift, making sure the paper fits snugly around the edges.
Next, fold the ends of the paper neatly. You can create sharp, triangular folds at the corners, ensuring that the paper stays tight and the edges look sharp. Tape the folds in place.
Step 5: Add a Bow or Ribbon
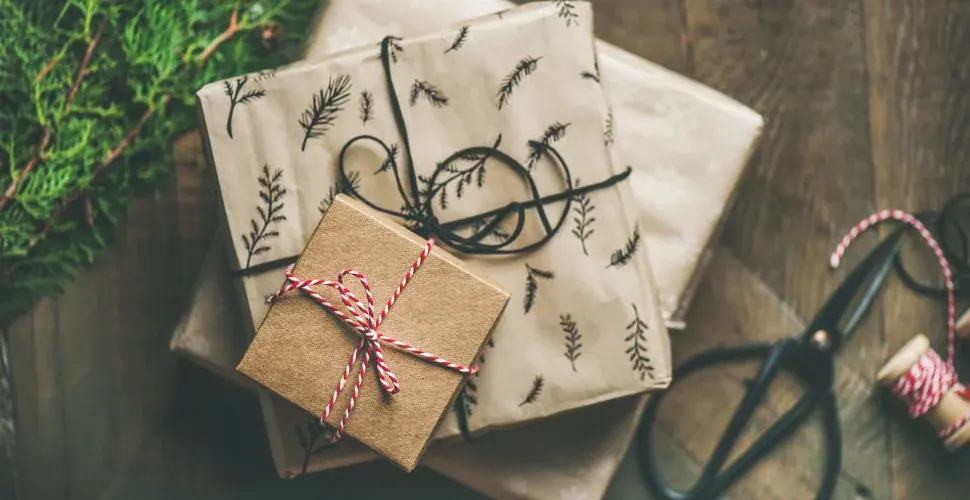
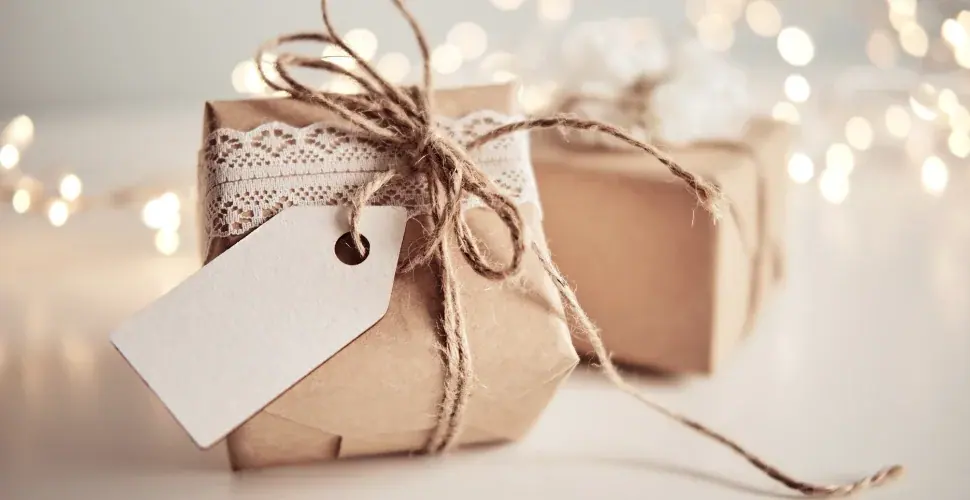
Now that your gift is wrapped, it’s time to add a finishing touch. Ribbons or bows can be added for a more elegant presentation. If you’re using ribbon, cut a long piece and tie it around the middle of the gift, making a bow. For a more personalized touch, use twine, fabric ribbons, or even a decorative tag.
Step 6: Attach a Gift Tag
A gift tag is a simple yet thoughtful way to personalize your present. Write the recipient’s name on the tag along with a special message. You can even add a small drawing or a festive sticker for extra flair. Attach the tag to the ribbon or tape it directly to the wrapping paper.
Step 7: Final Touches
If you want to make the gift even more special, consider adding small extras such as dried flowers, glitter, or a personalized ornament. These additions can make the gift wrapping truly stand out and show how much thought you’ve put into it.
Tips for Beautiful Gift Wrapping
- Choose the Right Paper: Match the wrapping paper to the occasion. Use festive prints for Christmas, elegant papers for weddings, or simple designs for birthdays.
- Use Double-Sided Tape: For a cleaner look, use double-sided tape. This eliminates visible tape on the outside of the gift.
- Be Neat: Wrapping should look smooth and tight. Avoid wrinkles or loose paper that might detract from the overall look.
- Personalize the Presentation: Go beyond standard wrapping and include a thoughtful gift tag, or embellish with items that have personal meaning.
Eco-Friendly Gift Wrapping Ideas
If you’re looking to wrap a gift sustainably, here are some eco-friendly alternatives to traditional wrapping paper:
- Reusable Fabric Wraps: Consider using fabric, such as a scarf or tea towel, to wrap your gift. This not only eliminates waste but gives the recipient something useful as well.
- Old Maps or Newspaper: Repurpose old maps, newspaper, or magazine pages to create unique and environmentally friendly wrapping.
- Gift Boxes: Use a decorative box that can be reused for storage after the gift is opened.
Summary
Gift wrapping is a fun and creative process that enhances the giving experience. By following these simple steps, you can wrap a gift that looks beautiful and thoughtful, making any occasion feel extra special. Whether you’re preparing for a holiday or a birthday, a well-wrapped present shows the care and attention you’ve put into the gift-giving process.
Additional Tips
- Always keep extra wrapping paper, ribbons, and tape on hand in case you need to rewrap or fix any mistakes.
- For a polished look, choose a matching set of wrapping materials (paper, ribbon, tags) in coordinating colors.
Happy wrapping!