How to Make a Bag Out of Wrapping Paper – Step-by-Step Guide
 Olivia Taylor
In short
Learn how to turn your leftover wrapping paper into a beautiful, eco-friendly bag with this simple guide.
7 steps in this guide
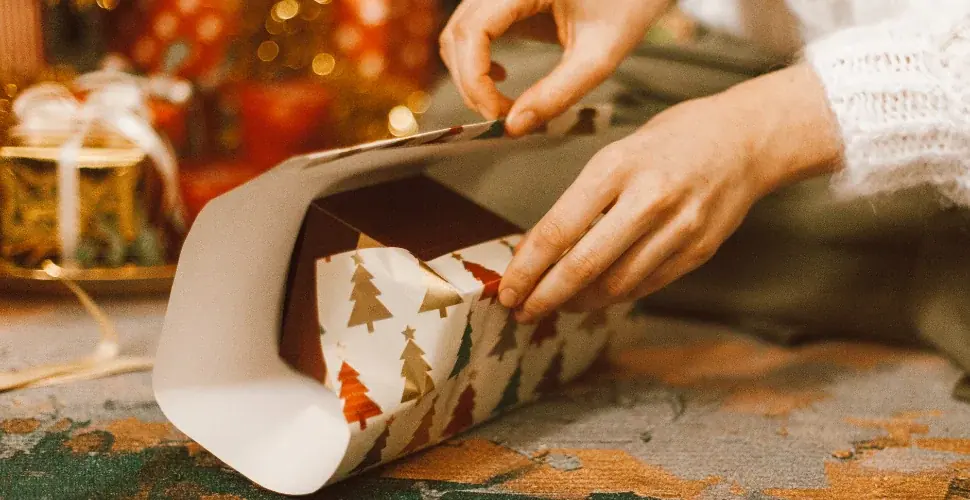
Making a bag out of wrapping paper is a fun, eco-friendly way to repurpose leftover materials from your gifts. Whether you want a cute gift bag for a friend or need a unique way to wrap a present, this simple craft will allow you to create a bag that’s both stylish and sustainable.
Why Make a Bag Out of Wrapping Paper?
Wrapping paper, though often used once and discarded, can have a second life as a gift bag. Not only does this project help reduce waste, but it also gives you a creative way to express your personal style. With a little bit of creativity, you can turn a piece of wrapping paper into a sturdy and attractive bag perfect for gifts of all sizes.
Supplies You’ll Need
- Wrapping paper (the size depends on the size of your bag)
- Scissors
- Ruler or measuring tape
- Glue stick or double-sided tape
- Hole punch
- Ribbon, string, or a handle (optional)
- Decorative embellishments (optional)
How to Make a Bag Out of Wrapping Paper – Step-by-Step Instructions
Step 1: Choose Your Wrapping Paper
Start by selecting a piece of wrapping paper. Make sure it’s large enough to create a bag that can hold your gift. The size of the paper will determine the size of the finished bag. You can use any wrapping paper, from simple designs to more festive prints, depending on your style.
Step 2: Cut the Paper to Size
- Lay the wrapping paper flat on a clean surface.
- Measure and cut a rectangle of wrapping paper. The size should be roughly twice the height of the bag and the width of your gift plus a little extra for folding.
- For example, for a medium-sized gift, you might cut a piece of paper that is 12 inches wide by 24 inches long.
Step 3: Fold the Paper to Form the Bag
- Create the sides of the bag: Fold the paper’s length in half, aligning the edges. Use a little glue or double-sided tape to secure the sides together.
- Create the bottom: Fold the bottom edge of the paper upwards (around 2-3 inches) and crease well. This fold will form the base of your bag. Secure the sides of the folded section using glue or tape to make a flat, sturdy base.
Step 4: Shape the Bag
- Make the sides: Open the folded paper and fold in the sides at the bottom to form the bag’s corners. You can do this by folding in each side slightly and securing them with tape or glue. This will give your bag some depth and help it hold the shape.
Step 5: Create Handles for the Bag
- To make handles, cut two strips of ribbon or string from your wrapping paper or use some decorative twine.
- Use a hole punch to create two holes at the top of the bag (one on each side). Thread the ribbon or string through the holes and tie knots to keep them in place. The length of the handles depends on how long you want them to be.
Step 6: Embellish Your Bag (Optional)
- Add embellishments to personalize your bag. You can attach bows, stickers, or even a tag that says “Happy Birthday!” or “Congratulations!” for a festive touch.
- You can also use metallic markers or paint to add extra details or personalize it further with names or designs.
Step 7: Final Touches
- Let the glue or tape dry completely before using the bag to ensure it’s sturdy enough to hold your gift. If you used string or ribbon handles, double-check that they’re securely attached.
Benefits of Making Your Own Wrapping Paper Bags
- Eco-friendly: By reusing wrapping paper, you reduce waste and contribute to a more sustainable lifestyle.
- Personalization: You can create a unique bag tailored to the recipient’s taste, making your gift even more special.
- Cost-effective: Instead of purchasing expensive gift bags, you can make your own with supplies you already have.
Conclusion
Making a bag out of wrapping paper is a creative, practical, and eco-friendly way to wrap a gift. By following these simple steps, you can create a beautiful bag that not only holds your gift but also adds a personal touch. Whether you’re celebrating a birthday, holiday, or special occasion, this DIY project will help you make the most of your wrapping paper and create something memorable.
Summary
- Materials Needed: Wrapping paper, scissors, glue/tape, hole punch, ribbon/string.
- Steps: Cut paper to size, fold to create the bag, add handles, and decorate.
- Benefits: Eco-friendly, cost-effective, and personalized.
By turning your leftover wrapping paper into a bag, you add a touch of creativity to your gift-giving while also helping the environment. So next time you have some extra wrapping paper lying around, try making a bag – it’s fun, easy, and a great way to recycle!