How to Make a Snowflake – A Fun DIY Guide!
 Olivia Taylor
In short
Learn how to create a beautiful paper snowflake with this easy and fun step-by-step guide. Perfect for the winter season or festive decorations.
6 steps in this guide
Making a paper snowflake is a fun and easy craft activity that anyone can enjoy. Whether you’re getting into the holiday spirit, decorating for a winter-themed party, or simply looking for a creative outlet, this guide will show you how to make a beautiful snowflake from just a few simple materials.
Materials Needed
To create your snowflake, you’ll need:
- A square piece of paper (any size works, but 6x6 inches is ideal)
- Scissors
- A pencil (optional)
- A ruler (optional)
- A flat surface to work on
Step-by-Step Guide
Step 1: Start with a Square
Start by cutting your paper into a square if you don’t already have one. You can do this by folding the corner of a rectangular piece of paper over until the edge lines up with the opposite side, then cutting off the excess.
Step 2: Fold the Paper in Half
Once you have your square, fold it in half diagonally to create a triangle. Make sure the edges are perfectly aligned, and crease the fold sharply.
Step 3: Fold Again

Next, fold your triangle in half again, this time bringing the two opposite corners together. This will create a smaller triangle. Crease the fold well.
Step 4: Make the Cuts
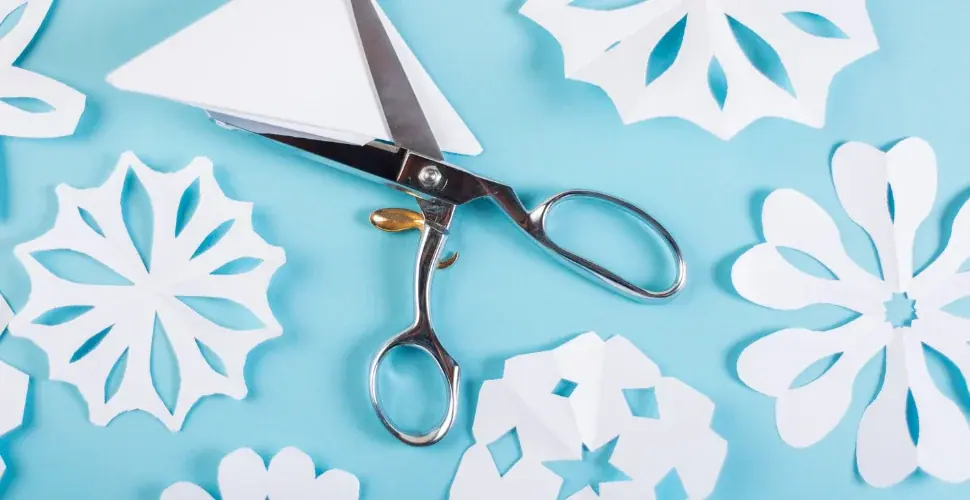
Now comes the fun part! Using your scissors, cut small shapes along the edges of the folded triangle. You can make triangles, squares, or any shapes you like. The more cuts you make, the more intricate your snowflake will be. Just be sure not to cut all the way through the center, leaving a small portion intact.
Step 5: Unfold the Paper
Once you’re happy with your cuts, carefully unfold the paper to reveal your snowflake. Be gentle to avoid tearing any parts. You should now have a beautiful, symmetrical snowflake!
Step 6: Decorate
If you like, you can decorate your snowflake with glitter, colored pens, or even small sequins. Use your creativity to give it a unique touch!
Tips for Perfect Snowflakes
- Use Thin Paper: Thinner paper, like tissue paper, is easier to fold and cut.
- Symmetry is Key: Try to keep the cuts evenly spaced for a more symmetrical snowflake.
- Experiment with Designs: Don’t be afraid to try different shapes, patterns, and sizes to create a variety of snowflakes.
Fun Ideas for Snowflake Crafts
- Make Snowflakes for Holiday Decorations: Hang them on windows or use them as table centerpieces.
- Create a Snowflake Garland: Connect several snowflakes with string to make a beautiful garland for your tree or room.
- Snowflake Cards: Cut out small snowflakes and glue them onto greeting cards for a personal touch.
Why Make Snowflakes?
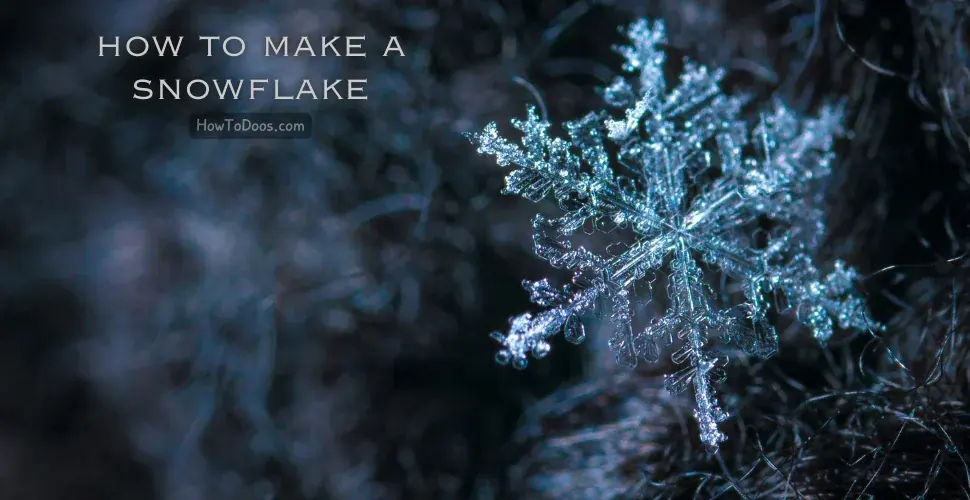
Creating paper snowflakes is not only a fun and relaxing craft activity but also a great way to explore your creativity. Snowflakes represent the beauty and uniqueness of winter, with no two snowflakes being exactly the same. Each snowflake you make is an opportunity to experiment with patterns and shapes, resulting in a unique and beautiful decoration.
Conclusion
Making paper snowflakes is a delightful and simple way to get into the holiday spirit or add a touch of winter wonder to your home decor. With just a few basic materials, you can create stunning snowflakes that are sure to impress. So grab some paper, scissors, and let your creativity flow!
FAQ
How do I make a snowflake without scissors?
If you don’t have scissors, you can use a craft knife to carefully cut the snowflake patterns. Be sure to use a cutting mat for safety.
Can I make snowflakes with other materials?
Yes, you can try using other materials such as fabric, felt, or even recycled paper. These materials can give your snowflakes a different texture and look.
How can I make a larger snowflake?
To make a larger snowflake, simply use a bigger sheet of paper. Follow the same steps, but keep in mind that larger snowflakes might require more cutting and a larger workspace.
How do I make my snowflake more intricate?
The key to making an intricate snowflake is to make small, detailed cuts near the center. You can create lace-like patterns for a delicate look.