How to Winterize Outdoor Faucets – Step-by-Step Guide
 Emily Carter
In short
Disconnect and drain the hose, close the indoor shut-off valve for the outdoor tap, open the outside faucet to drain it, empty the valve's drain cap, then add a cover.
7 steps in this guide
To winterize an outdoor faucet (also called a hose bib, spigot or sillcock), disconnect the hose, close the indoor valve that feeds the tap, then open the outside faucet so the water drains out and leave it open all winter. It takes about 15 minutes per tap, and it’s best done in autumn before temperatures drop below zero. Water left in the pipe can freeze, expand and split it, often inside the wall where you won’t see the leak until it’s done damage.
The steps below follow the American Red Cross advice reproduced by the Town of Whitchurch-Stouffville’s frozen pipes page and the shut-off and drain-cap steps in Economical Insurance’s hose bib guide.
What you need
- A bucket and an old towel
- A flashlight to find the shut-off valve
- An insulated faucet cover (optional but helpful)
- Foam pipe insulation for exposed pipes in unheated spaces (optional)
- Somewhere dry to store your garden hose
Steps
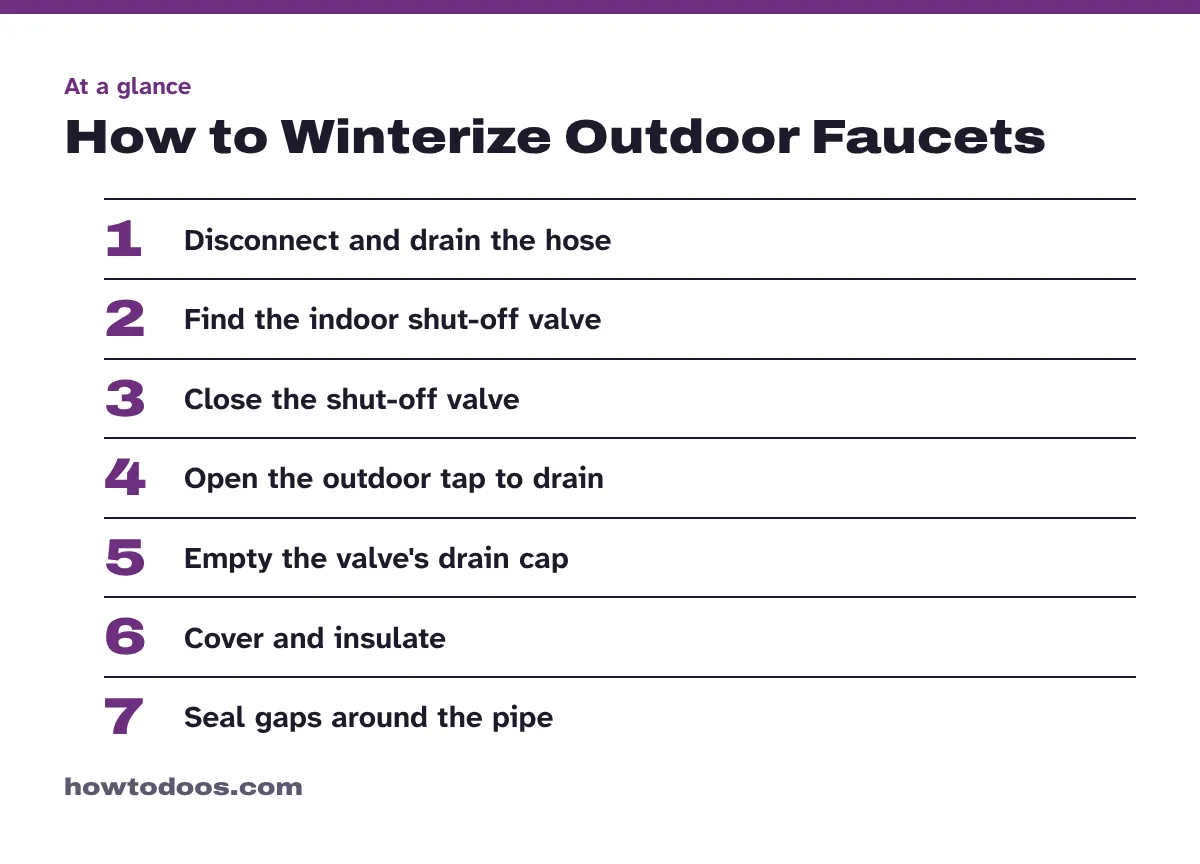
Step 1: Disconnect and drain the garden hose
Unscrew the hose from the outdoor faucet. Open the nozzle or lay the hose on a slope so the water runs out, then coil it and store it in a shed, garage or basement. The Red Cross advice is to “remove, drain, and store hoses used outdoors”, because a hose left attached can hold water against the tap.
Step 2: Find the indoor shut-off valve
Most outdoor taps are fed by a separate valve inside the house. Look on the inside of the wall directly behind the outdoor tap, in the basement, crawl space or utility room. Economical notes that it’s usually near the ceiling, while Lowe’s points to the basement or crawl space. Follow the pipe from where it goes through the wall if you can’t see it straight away.
If you can’t find a separate valve, your tap may be a frost-free model (see the FAQ), or it may be fed directly from the main supply. In the second case, ask a plumber about adding a shut-off valve.
Step 3: Close the shut-off valve
Turn the valve handle clockwise until it stops. If it’s a lever-style ball valve, turn the lever so it sits across the pipe. Don’t force a stiff valve, since an old valve can break. If it won’t move, leave it and call a plumber.
Step 4: Open the outdoor faucet to drain it
Go back outside and turn the outdoor faucet on. A little water will run out and then stop, which shows the supply is off. The Red Cross advice is to open the outside hose bibs to let the water drain and to “keep the outside valve open so that any water remaining in the pipe can expand.” Leave the outdoor tap open for the whole winter.
Step 5: Empty the drain cap on the indoor valve
Many shut-off valves have a small metal drain cap (bleeder) on the side. Put a bucket under it, unscrew the cap and let the water left in the pipe run out. Economical describes this step as draining what’s trapped between the valve and the outdoor tap. Once it stops dripping, screw the cap back on. If your valve has no drain cap, the open outdoor faucet does the same job.
Step 6: Insulate the faucet and exposed pipes
Fit an insulated foam or rubber cover over the outdoor tap. Lowe’s recommends these insulating jackets along with foam insulation on exposed pipes. Inside, wrap any supply pipe that runs through an unheated garage, crawl space or cold basement wall. The Red Cross fact sheet shared by Outagamie County also mentions pipe sleeves and UL-listed heat tape as options for vulnerable pipes.
Step 7: Seal gaps around the pipe
Check where the pipe passes through the outside wall. Cold air coming through cracks can freeze the pipe from the inside. Seal small gaps with exterior caulk once the tap is drained and dry.
Tips
- Do it early. Plan to winterize before the first hard frost, not after a cold snap is forecast.
- Fix drips first. Lowe’s notes that a leaking faucet is more likely to freeze, so repair or replace a dripping tap before winter.
- Don’t forget other outdoor lines. Drain sprinkler systems and pool lines following the manufacturer’s directions. The Red Cross warns not to put antifreeze in these lines unless directed.
- Keep the house warm when you travel. The Red Cross advises leaving the heat on and set no lower than 55°F (about 13°C) if you’ll be away in cold weather.
- Keep the thermostat steady. It also suggests keeping the same temperature day and night during very cold spells.
If your home has other cold-weather problems, see our guides on how to stop condensation on windows and how to bleed a radiator.
Troubleshooting
Water keeps running from the outdoor tap. The shut-off valve may not be fully closed or may be worn out. Check that it’s turned all the way. If water still flows after a few minutes, the valve needs repair.
The tap froze before you winterized it. Leave the faucet open and warm the pipe with a hair dryer, heating pad or warm towels, starting nearest the tap. The Red Cross says to keep applying heat “until full water pressure is restored” and never to use an open flame. If you can’t find or reach the frozen section, call a licensed plumber.
A pipe has burst. Turn off the water supply to that pipe straight away (or the main valve if needed) and switch off electricity to the affected area if water is near outlets or appliances. Economical also suggests photographing the damage and contacting your insurer.
FAQ
When should I winterize outdoor faucets?
Do it in autumn, before overnight temperatures start dropping below freezing. In much of Canada and the northern US that means October or November, but check your local forecast.
Do frost-free faucets need winterizing?
A frost-free (frost-proof) faucet has its shut-off point further inside the wall, so it’s less likely to freeze. You should still disconnect the hose so water can drain out of the tap. Check the manufacturer’s instructions for any other steps.
Should I leave the outdoor faucet open or closed over winter?
Leave it open once the indoor valve is closed. The Red Cross advice is to keep the outside valve open so any water left in the pipe has room to expand. Close it again in spring before you turn the indoor valve back on.
Is a faucet cover enough on its own?
No. A cover adds insulation but doesn’t stop water sitting in the pipe from freezing. Use it after you’ve shut off and drained the tap, not instead of it.
How do I turn the outdoor tap back on in spring?
Once the risk of frost has passed, close the outdoor faucet, check the drain cap is tight, then slowly open the indoor valve. Turn the outdoor tap on and look for leaks inside the wall and at the faucet before reconnecting the hose.
Conclusion
Winterizing outdoor faucets comes down to four actions: remove the hose, close the indoor valve, drain the tap and leave it open. Add a cover and insulate exposed pipes for extra protection. Fifteen minutes now can save you from a burst pipe and water damage later. If anything looks worn or won’t shut off, call a licensed plumber before the cold sets in.