How to Customize the Right-Click Menu in Windows 11
 James Mitchell
In short
Update Windows 11, right-click a file and choose Customize menu (or open Settings > Personalization > Context Menu), then switch commands and app extensions on or off.
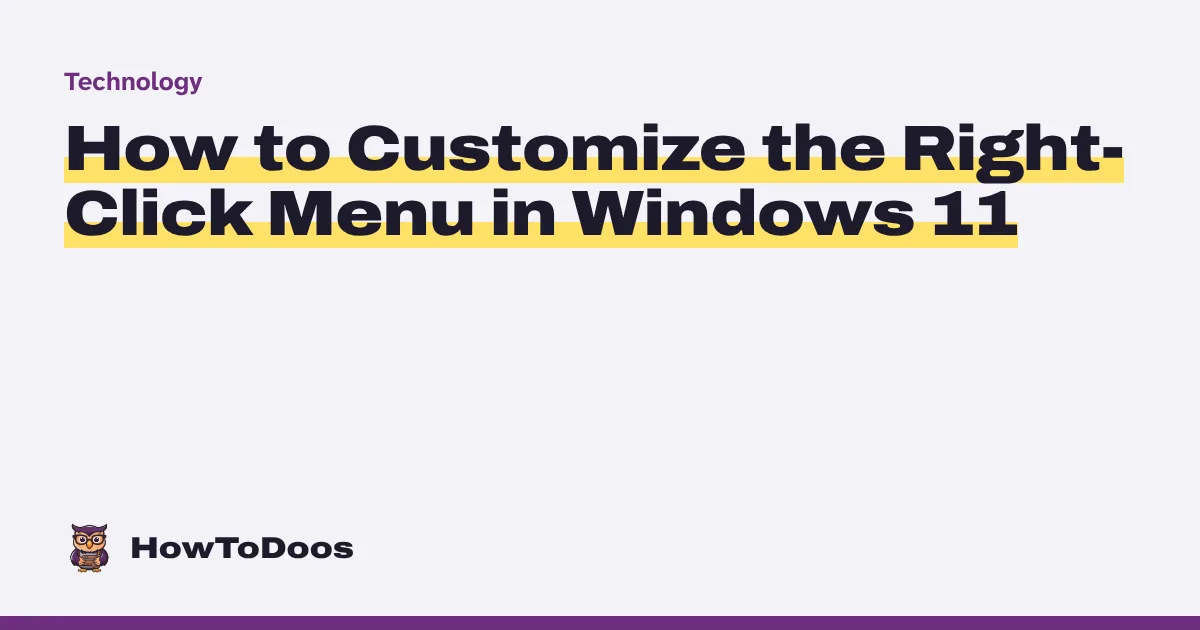
8 steps in this guide
To customize the right-click menu in Windows 11, install the latest Windows 11 update, right-click any file in File Explorer and select Customize menu at the bottom — or go to Settings > Personalization > Context Menu. From there you can turn built-in commands such as Print or Copy as path on or off, hide app extensions you never use, and choose how cut, copy, paste and the other quick actions appear.
Microsoft first described the faster, customizable menu on the Windows Insider Blog in August 2026. It reached regular PCs in the optional October 2026 preview update, KB5127936, which BleepingComputer reports was released on October 29, 2026, and Windows Latest walked through the new settings page. Because Microsoft is rolling the feature out gradually, it may not appear on every PC straight away.
What you need
- A PC running Windows 11 version 25H2 or 26H2 (version 24H2 no longer receives optional updates)
- The October 2026 preview update (KB5127936 — build 26200.9818 on 25H2 or 26300.9818 on 26H2) or any later cumulative update
- An internet connection for Windows Update
- A few minutes and, ideally, a restart window
Steps
Step 1: Check your Windows 11 version
Open Settings > System > About and look under Windows specifications for the Version and OS build. If you see 25H2 or 26H2, you can get the new menu through Windows Update. If you’re on an older version, install the latest feature update first.
Step 2: Install the latest update
Go to Settings > Windows Update and select Check for updates. Optional preview updates such as KB5127936 don’t install on their own: if the update is listed under optional downloads, select Download and install, then restart when asked.
To be first in line for gradual rollouts like this one, turn on the Get the latest updates as soon as they’re available toggle on the same page. BleepingComputer notes that with this toggle on, Windows installs preview updates automatically. Microsoft normally folds preview fixes into the following Patch Tuesday security update, so a PC that has the latest monthly update should also have the code — but the switch that turns the feature on may still arrive later.
You can also download the package from the Microsoft Update Catalog, but it is a very large file, so Windows Update is the easier route.
Step 3: Open the Context Menu settings
Once the update is in place, open File Explorer, right-click any file and select Customize menu at the bottom of the menu. This takes you straight to Settings > Personalization > Context Menu. You can also open Settings yourself and go there via Personalization.
If you don’t see Customize menu or the Context Menu page yet, the feature hasn’t been switched on for your PC — check again after the next update.
Step 4: Choose which built-in commands appear
The page lists built-in commands you can show or hide with a toggle, including Send to, Print, Create shortcut, Copy as path and Rotate image. Microsoft says Print wasn’t part of the Windows 11 menu before, so this is the place to bring it back.
Turn off anything you never use. A shorter menu is quicker to scan, and the Insider Blog says the redesign is also meant to make the menu open faster.
Step 5: Pick a layout for the quick actions
Cut, copy, paste, rename, share and delete sit as small icons along the top of the menu by default. The new settings let you show them inline as text instead, which many people find easier to read than icons. According to the Insider Blog, you can also move Properties to the bottom of the menu.
Step 6: Tidy up app extensions
Apps you install often add their own entries, such as Open in Paint or Edit in Notepad. The App extensions section lists them so you can hide the individual ones you don’t need.
If you’d rather keep them but out of the way, turn on Show app extensions submenu. All app entries then move into a single App extensions submenu, leaving the main menu short.
Step 7: Decide what to do with “Show more options”
Some older tools still live only in the classic Windows 10-style menu that opens from Show more options or with Shift + right-click. Windows Latest reports that the new page lets you turn on the legacy menu so it appears without holding Shift — handy if you use an archive tool or another app that hasn’t moved to the new menu.
Step 8: Test the menu
Right-click a few different items — a document, a photo and a folder — to check the result. Image-only commands such as Rotate image only appear for pictures, so a missing entry on a text file is normal. Go back to the Context Menu page to adjust anything that’s still cluttered.
Troubleshooting
- No “Customize menu” option. Make sure the update installed (Settings > Windows Update > Update history), restart, and turn on Get the latest updates as soon as they’re available. Because the rollout is gradual, some PCs get the option later than others.
- An app’s command disappeared. You probably hid its extension or moved it into the App extensions submenu. Turn it back on in Settings > Personalization > Context Menu.
- An old tool only shows under Show more options. That app still uses the classic menu. Use Shift + right-click or enable the legacy menu on the Context Menu page.
- Work PC with no Context Menu page. Your IT department may manage updates and settings; ask them before installing optional updates.
If File Explorer itself is misbehaving after an update, our guide to booting Windows in safe mode can help you troubleshoot.
FAQ
How do I get the old right-click menu back in Windows 11?
Select Show more options at the bottom of the menu, or hold Shift while you right-click, to open the classic menu. On PCs with the new Context Menu settings page, Windows Latest reports you can also turn on the legacy menu so it shows without Shift.
Which Windows 11 update adds the customizable context menu?
It arrived in KB5127936, the optional October 2026 preview update released on October 29, 2026 (builds 26200.9818 and 26300.9818). Later cumulative updates include the same changes, but Microsoft is enabling the feature gradually.
Where is the context menu setting in Windows 11?
Go to Settings > Personalization > Context Menu, or right-click a file in File Explorer and choose Customize menu.
Can I remove “Open in Paint” or “Edit in Notepad” from the right-click menu?
Yes. On the Context Menu page, find them under App extensions and turn them off, or turn on Show app extensions submenu to tuck them into one submenu.
Do I need a registry hack to customize the right-click menu?
No. With the new update, the options are built into Settings. Registry tweaks are no longer needed for these changes, and editing the registry carries risks if you get it wrong.
Conclusion
Customizing the Windows 11 right-click menu now takes a couple of minutes: update Windows, open Customize menu or Settings > Personalization > Context Menu, switch off the commands and app extensions you don’t use, and pick the layout you prefer. If the option hasn’t appeared yet, keep Windows Update current — the rollout is gradual, and the page will show up once it’s enabled for your PC.